Friday, December 30, 2011

Kegging day!


Dual regulator

CO2 tank and Keg
Finally picked up my CO2 today and commenced moving the Belgian into the pop keg.  The keg was rinsed with very hot water and then sanitized.  I pushed the sanitizer through the tap line by hooking up the CO2 and giving about an 8 PSI push through the system.  I found the keg to be a little finicky, the lid needs set and locked just right, or it leaks quite a bit.  Hopefully, this is not going to be a problem down the road.  I also noticed a leak out of the connector at the top without the CO2 and party tap attached.  Made a bit of a mess because of this.  It seems to be just fine with the connections on though.


Siphon running full steam
Filling up with liquid gold!
 I had a bit of trouble getting my siphon going due to a leak, but aside from that the beer moved fairly easily and quickly from carboy to keg.  Bathroom may not be the ideal kegging location, but the drop was good and mess was easy to clean up.  Once kegged, I hooked up the CO2 and started force carbonating at 30 PSI. I will check out the carbonation level tomorrow and then back it down to about 10 PSI for normal operation.  Overall, even though this was the first time, this was far less time consuming then bottling.  The whole operation took about 30 minutes even screwing around with the seal.  Thank you very much Santa!
Keg in the fridge


The beer dropped another point during the 3 week secondary ferment.  My finishing gravity clocked in at 1.018.  That puts this beer at just about 7% ABV (thanks Rooftop Brew!)  Took a swig of the sample and there was a little more bite than I expected.  I did not expect that much hop taste, but the nice Belgian ester character was there as well.  Nice alcohol warm to it as well.  Can't wait to taste it cold and carbonated!   Color is a nice yellow brown and it is much clearer than my pale.  Secondary ferment gets all the credit here as I used no finings during the boil.  Stay tuned for the taste test tomorrow!

Tuesday, December 27, 2011

Santa delivers

I have received my very own keg kit from Santa!  The Belgian will be going into a keg instead of bottles as soon as I get my CO2 tank filled.  Look for posts on this prior to the new year.  Hope everyone had a fantastic Christmas!

Thursday, December 15, 2011

Still a bubbling

The Belgian is still actively fermenting!  I had read that Belgian yeast strains can take their time, but this is a little surprising.  The beer has now been bubbling for 9 days with no signs of stopping.  We are now 11 days post pitch and still showing signs of active fermentation.  It has slowed a bit, but in the carboy you can really see the action happen - pretty cool stuff!  The color is a nice orange-gold, really can't wait for this to finish up!  On another note, the pale is aging well. It is now very drinkable with a nice hop bite.  There is no discernible hop fragrance or flavor unfortunately, I must have added the last hops too early.  Still, turned out better than it started out so all in all I am happy with my first batch after a long layoff.

Monday, December 12, 2011

Belgian racked to secondary

Active fermentation appears to be coming to an end, so I moved my Belgian to a secondary fermentor today.  This move gets the beer off of any residual yeast, hops and other sediment while allowing the fermentation to continue.  Beer sitting on dead yeast is not good after a couple of weeks.  They dead cells will begin to break down and affect the flavor.  It is also a better practice to let the beer age in glass rather than my plastic primary.  This will extend the life of my primary fermentor as the plastic will break down over time. Racking is a pretty simple operation really.

Sanitizing

First, as always, wash and sanitize.  The secondary is a little harder to deal with than my bucket primary.  I really need to invest in a carboy carrier, too many more of these operations and I will break my glass carboy.   Then you just set the primary up higher than the secondary so gravity will feed the beer down tube into the secondary.  Remove the airlock and then take a quick hydrometer reading before transferring the beer.  My reading today was 1.028, so we had a fairly good drop during the first week.  The beer will probably drop a few more points during the secondary ferment, but we are just about there.  I took a quick sample of the beer and was pleasantly surprised.  It is still not too complex, but the alcohol warmth hits you quick, followed by a nice banana follow.  There was a little hop flavor there, but as I would expect the sweet malt and yeast esters take center stage.  Not sure I noted the maple syrup, but I only took a little sip of the sample.  The fragrance is sweet and fruity as well.  Pretty much what I had expected at this point.

Racked in secondary
Beer in motion
After measuring the gravity and taking a quick sip, I hooked up the transfer tube, opened the valve and let the beer flow out.  The secondary was quickly air locked and moved back into my bathroom shower.  I will let it sit there for about 30 days when it will be ready to bottle.  I am planning on closing off the heating vent and letting the temp lower to normal home temp - for me that is about 65 F.


Sediment in primary
 Then clean up the primary and I am done with my beer chores for the day.  Now the hard part, waiting for the beer to finish up!  In the mean time, I scout for my next recipe.  I have an open primary, so I may opt for a lower gravity beer I can bottle a week after brewing.  I already have my Belgian starter waiting so half the work is done.


Thursday, December 8, 2011

Belgian brew session


Kicked off this session while watching the early NFL game.  This was a bit easier than my last batch as it was all extract.  No grain mashing which saves a couple of hours on the brew day.  I was not really confident in my yeast pack (and rightfully so based on the late take off of the batch) but I had waited as long as I could.
For this batch I ended up using a Wyeast smack pack of Belgian Abbey (1762) Ale yeast.  A smack pack is liquid yeast in a foil type bag.  Inside the bag is a separate container of yeast nutrient that you "smack" to activate.  This basically breaks the inner bag releasing food for the inactive cells.  They then begin to grow, letting off CO2 which swells the bag.  When it swells, you are good to go.  It is usually pretty obvious, but this bag barely swelled at all.

Syrup and hard candy used for this recipe
I did not want to wait any longer to brew so I hoped for the best and started cooking.  This process is basically the same as the last beer I brewed, and I neglected to take any photos while cooking this time - my apologies.  This recipe called for a couple of unique ingredients, one typical for the style and the other not so much.  Belgians are often supplemented with sugar candy, I chose dark for this recipe to provide a little extra color and perhaps some deeper flavor.  This recipe also called for maple syrup, which I have never used in beer.  Not much was added, so we shall see if it is noted in the flavor.  I would assume it will mostly ferment off, but we shall see.

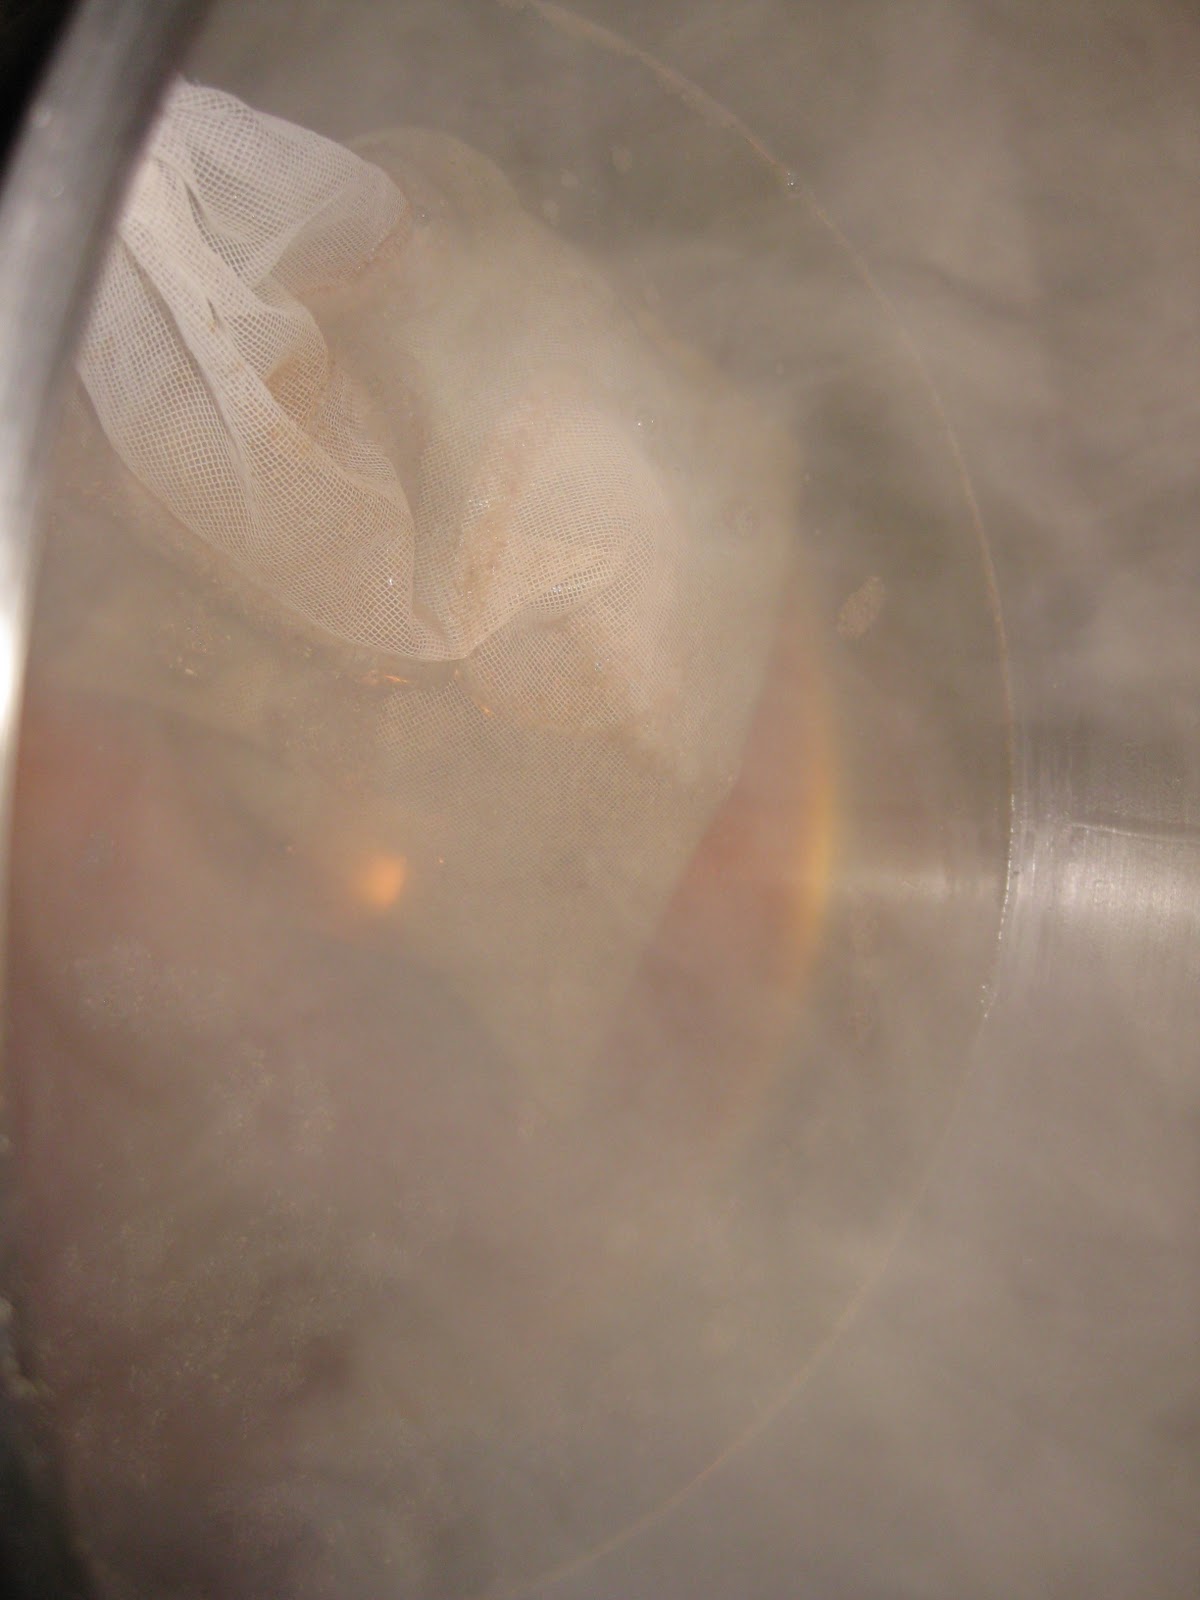
The cook itself went off without incident.  I had purchased a new floating thermometer when I picked up the ingredients and decided to use it to measure my cool down of the wort.  I wanted to drop it in right after turning the heat off and then move the wort to the ice batch.  That was a mistake.  The thermometer bobbed under, touched the bottom of the pan which was still scorching hot, and you could hear it crack.  I yanked it out quick and opted for plan B.  I hung a meat probe down into the wort to monitor the cool down.  when it registered under 80, I poured it off through a filter.  I forgot the filter last time, which I assume is why my pale has way too much bite.  You don't want all the hop remnants in your fermentor.  I just needed a bit of water to top off to 5 gallons so added my cold water, pitched the yeast and moved the fermentor downstairs into a bathroom.  My house is a little to cool for ideal temp for the Belgian, so I put it in a small interior bathroom, closed the door and opened up the heat vent full.  Our heater is running pretty steady this week, so I figured it would raise the temp in there at least 5 degrees which is what I needed to get in my 70-75 range.

Next morning, no activity in the fermentor.  Worse yet, it looked like some of the water in my lock had been pulled down into the fermentor.  I was sure my temp reading was off (the fermentor did feel warm to the touch when I moved it) and the wort was too hot when I pitched.  It cooled and sucked the water in from the lock.  I was pretty sure I killed the yeast which led to the antics in my prior posts.  Obviously I was wrong.  The yeast just needed a little more time - perhaps it was a temp shock, but not enough to kill it.  May end up better anyway.  I have read that it is better for a Belgian to take it's time fermenting to invoke the proper esters from the yeasts into the beer.  We will find out, but not for a while.  This beer will transfer to a  secondary a week after starting and then sit for 30 days before bottling.  Hate to wait that long, but it will be worth it!

Wednesday, December 7, 2011

It's a Christmas miracle!

So I went downstairs to re pitch my new yeast tonight, and miraculously the fermenter is bubbling away with a big thick krausen showing through the bucket!  Guess those yeast cells were scared into action by the competition!  Now, what to do with that second batch of yeast.... Guess I need to plan my next batch,  maybe time to explore the pale with Belgian yeast to try and get that Raging Bitch style.  The opportunities are endless.  Just realized I never posted on the brew session itself.  Update on that coming right up.

Fail again?

Wow, this beer is just crushing me.  Had no fermentation again.  Only thing I can figure is I pitched too hot.  Did a starter last night with some new yeast, checked the started today and no signs of fermentation.  No idea what may have gone wrong.  I am crossing my fingers for some evidence by the time I get home, but I will have to pitch anyway.  Perhaps it fermented while I wasn't looking, but there is no sign of a robust yeast cake.  If this doesn't work, I need to give up on this batch.  I have already flushed way more on this batch than if I just went out and bought the beer!  Moral of the story - Temperature control is not to be guessed at.  I will need to upgrade my process and tools for monitoring temps.

Sunday, December 4, 2011

Little Mountain Brew session

We have a group of folks at work who like to get together a couple of times a year and brew at The Brew Kettle.  This place is great - good food, great beers on tap, and a large menu of beers to choose to brew.  They have really nice brew set up with 8 kettles (I think) and multiple bottling stations.  Trouble is, this place is far from home for me and is also busy as hell.  The wait to brew even a couple of kettles is up to 6 months.  Well, we missed scheduling at our last session so a few of us were looking for an alternative.   Little Mountain Brewing opened up near me about a year ago.  I had stopped in to check it out and met Bob who runs the place.  Nice guy and he has a nice operation.  It is much smaller than the Brew Kettle with no real food options, but he has plenty of availability and looks like the perfect set up for the 4 of us.  

We scheduled a session and completed our brewing last week.  Bob was on hand as well as his bartender (sorry, can't remember his name - too many beers!) to help us out.  We opted to brew a Scotch ale and a Christmas ale.  The session went well aside from a rookie mistake on the Christmas ale - yours truly and partner allowed a boil over.  Both beers have a stiff OG of over .070, so these should warm us up nicely on the cold days ahead.  I have never brewed a spiced Christmas ale before, the ingredient list was the longest I have encountered by far.  From memory, we had at least 3 different grains as well as Oatmeal, molasses, 20 lbs of malt extract, honey, cinnamon, cranberries, orange peel, nutmeg, cardamon.  I am missing a few here, but you get the picture.  

After the session which took about 31/2 hours, a couple of us stopped next door for some wings.  The establishment was a little rough, but the wings were fantastic and cheap.  I will definitely stop in there again.   

Will post again on the results - we hope to bottle on the 22nd so stay tuned. 

Second attempt at the Belgian

I am now restocked with yeast and am skipping the starter.  This is a little risky as this is a high OG beer, but I want to get this brew session completed quickly today.  I picked up a smack pack of Wyeast Abbey Ale yeast while brewing a Little Mountain Brewing on Thursday (Much thanks Bob, had a great time!).  Smacked the pack about an hour ago, I should be brewing while watching the early NFL game today.  Pics and progress to follow.  

Sunday, November 20, 2011

Starter - FAIL

I have seen no evidence of fermentation in my starter.  This was the first experience I have had with White Labs tube yeast packs and I am pretty sure I tossed most of the yeast instead of pitching it.  Unbelievably dumb move!  I pulled the yeast out of the fridge and tried to pitch it direct into the starter mix. The cake on the bottom would not come into suspension and I assumed incorrectly that whatever I could not mix in was probably dead and not usable.  Uh, no - completely the opposite.  All the good cells ended up in my garbage.  I will head to Brew Mentor today with my head hung low for a new tube.  I spent some time researching after my collosal fail and it seemed like I did everything else about right, but I think I may invest in an erlenmeyer flask to start these in.  While I will probably just go with a stock starter size for this batch, it is important to note that most serious brewers tailor their starter size to create the number of yeast cells they believe they need for the beer they are creating.  I am certainly not that exacting at this point in my brewing career. Guess I will just chalk this up to a failed trial run.  In a couple of days I will try it onece again with a target of brewing Thanksgiving weekend.

Saturday, November 19, 2011

Belgian Dubbel

This weekend I plan on brewing a Belgian Dubbel.  The recipe is slightly modified from a Zymurgy article.  The original won a Gold medal, so I am hopeful a little of that magic rubs off on me.  This is a high OG beer, so I am trying to get some yeast going in a starter right now.  I have never attempted this, so hopefully all will go well or the brewing will be delayed at least a week.  I am regressing a bit, this is an all extract recipe, but this is a holiday week so I wanted to do something simple and I love Belgians.  I also plan on racking this batch to a secondary after a few days, hoping to cut down on some of the bite I ended up with in the Pale.  Pics and posting to come following brew day, stay tuned.

Monday, November 14, 2011

Another taste, no improvement

Second beer sampled and it is not much better after another week.  There is a very biting hop presence there, but no floral character.  Also, not enough malt balance.  It is drinkable, and believe me I will drink it, but I am hoping for better results with my next batch.

Wednesday, November 9, 2011

First taste - Pale Ale

Finally got to sample my batch of Pale Ale.  Pours nice, bottle carbonation took and a good 1/2 head developed.  Beer is quite cloudy, I am hoping that with some more time this will clear out a bit but I did not use any finings during the brew process.  I may need to add this to future batches or see how a secondary fermentor helps the clarification.  Taste was good, not great.  Good hop flavor but not a lot of malt balance there.  I suspect my grain conversion was not very good which would explain the low starting gravity as well.  I am going to let these sit for a couple more weeks and try another.  In the mean time, I am looking to brew a Belgian Dubbel.  I am sticking with an extract or extract/whole grain mix for now, but I did find instruction for a nice cooler conversion mash tun.  Hopefully I can move to all grain after another batch or so.  Less expensive and opens up more possibilities.  Downside is it will take much more time.

Friday, November 4, 2011

Draft Magazine has come out with their Top Beers  list for 2011.  Some of these may be difficult to find, but I know I am going to have some fun trying to validate their findings!  If you get a chance to try some, comment on this post and leave your impressions.  Happy Drinking my friends.

Saturday, October 29, 2011

Bottle conditioning - waiting stinks

I walk past my stash every day, waiting and anticipating that first taste.  The bottles have to sit for another week and it is killing me!  I tried to get a pic of the beer's current state, but it really doesn't depict very well.  Their is some settling going on, but the beer is quite hazy right now.  I did not use any clarifying agents with this batch so there will probably be some haze even when completed.  Next week, the beer should be markedly clearer and refrigeration will help as well.  In the mean time, I patiently wait.  I am already thinking of my next batch.  I will need to keep a rotation going to make the waiting less painful until I get a keg set up.  I am thinking Belgian for my next batch.  Maybe spiced a bit and higher ABV for the fall/winter weather.

Thursday, October 27, 2011

Capping the batch

Once I have the beer transferred into the priming tank and the sugar is stirred in well, it is time to fill and cap the bottles.  I was working solo here, so I found it best to fill about 12 bottles and then cap 12.  This went pretty quick.  I was a little rusty with the valve - it has been a while - so unfortunately their was some overflow.  I do hate wasting beer.  I have a very basic bottling set up.  You get a bunch of caps with the kit I bought.  Capping is pretty easy, set the cap on top and use the cap crimper to pop it on.  It takes some practice with this tool to get them on straight, but you can pick it up relatively quickly.  I would recommend bottling with a friend, it goes much quicker.  I had no takers at my house this night so the process took a little longer than planned.  I would say from sanitizing through packing up the beer I spent about 2 hours.  Net yield was 50 bottles.  Now they sit for 2 weeks conditioning in the bottle.  At the 2 week mark, I will chill one to see how it turned out.  For now, it's a waiting game.

Bottling day

Transferring beer to priming tank
Bottling day arrived at last.  Fermentation visibly stopped on Wednesday so I targeted Saturday to bottle.  You want to wait at least 2 days after bubbles stop to bottle to ensure fermentation is complete.  The arduous task of cleaning and sanitizing 50+ bottles as well as the fermenting equipment took up quite a bit of time.  I need to switch over to kegging, bottling is a huge pain in the rear.   Once everything is clean and sanitized, I moved the fermenter back into the kitchen and began moving the beer into the priming tank.  You officially have beer now, if kegging you could move it directly into your keg and force carbonate.  The more traditional route is to add some sugar to the priming tank and then bottle it up.  The sugar provides some additional fuel for the yeast.  This produces more fermentation and waste CO2 which carbonates the beer in the bottle.  The downside here is that you will end up with some sediment in your beer.  Filtering and kegging would give you a "clean" bottle but also can take away from some of the aging flavors you can realize especially on higher alcohol content brews.  Prior to starting the bottling, I took a final gravity measurement.  Using a simple math equation, you can determine the alcohol content of your beer (SG - FG x 131.25). For this beer, I look to have an alcohol content of 5.25%.  A good session beer, but lower alcohol content than expected by the recipe.  My starting gravity was lower than expected, which I suspect was due to an in efficient grain conversion.  Not surprising as this is the first time I have integrated a significant amount of grain with my extract.  If any of you have advice on how I can increase my efficiency, please post a comment.  I am pretty sure my sparging process kind of sucked.
taking my finishing gravity reading

Wednesday, October 26, 2011

Always a sign that the Holidays are near

The last few trips to the store have revealed the "Pumpkin Ales" and "Harvest Ales" give way to the stronger alcohol spiced Holiday ales.  But for me living in NE Ohio, there is one beer's release that truly means the holidays and winter weather are heading in quickly.  Yesterday was that day - Great Lakes has started serving Christmas Ale at the brewery.  It is only a few short weeks before this elixir makes its way into local bars and stores.  Can't wait to sample this year's batch!

Thursday, October 20, 2011

Bubbles have stopped

Active fermentation on the Pale Ale appears to be concluding.  The airlock stopped bubbling yesterday when I went in to check on it.  Looks like bottling this weekend!  Then 2 weeks until chilling and enjoying!  Stay tuned for bottling documentation.

Tuesday, October 18, 2011

Monday, October 17, 2011

Reflections on a good beer weekend

Thought I would reflect a bit on a weekend full of great beer.  Once I tucked my home brew in for some quality fermenting time, the wife and I headed out to dinner.  We met some friends at Lolita for dinner.  They have a fine selection of beers and I settled on an old favorite.  Dogfish head's 60 minute IPA.  I love hops, and this beer is loaded with hop character.  Not the hop hammer of the 90 minute, but you can actually have a couple of these and not fall over trying to stand up.  

After dinner, we stopped by a new brewery on the way home.  This was my first visit to Market Garden Brewery and I came away impressed.  It was a nice but cool evening and the inside was packed.  We opted to grab a beer and go out onto their patio.  It is a nice setting with a large fireplace dominating the common wall separating the bar from the patio.  The well tended fire and finely crafted beer kept us nice and warm.  The Hop Soup was very tasty.  Loaded with hops but finely balanced, it was scarily drinkable. My wife's wheat was fine as well.  It was a surprisingly full beer. It had a very full mouth feel and the sweet wheat flavor dominated.  Would be even better on a warm afternoon - sadly, we won't be seeing more of these for awhile.

On Sunday, I settled in at home with some football and one of my favorites - Raging Bitch by Flying Dog brewery.  I love Belgians and Pale Ales, so this combination is heaven.  If you like these varieties of beer, you need to check this beer out if you can find it.  Too bad the Browns sucked up and down the field, but at least I had a little medicine to wallow in while they did it.

Sunday, October 16, 2011

Bubbles

Fermentation has started. The airlock was bubbling away this morning so we are on our way converting the wort to beer!  In about 2 weeks, we should be close to bottling.

Saturday, October 15, 2011

When your beer hits the correct temperature, it is time to move it to the fermenter.  I use a plastic bucket for this, many use a glass container - I have one of these for secondary fermentation on some beers.  The bucket has worked well for me and this one is designed for fermenting so it is much easier to work with than the glass carboy.  My recipe is for 5 gallons (fairly typical) so I poured in my wort and filled to the 5 gallon mark.  

You should have a specific gravity associated with your recipe.  There is a starting gravity and a finishing gravity.  These are usually ranges and you will need a hydrometer to measure them.  The specific gravity basically tells you how much sugar is available for conversion to alcohol.  The higher the starting gravity, the higher the ABV of your finished product in general.  Once your beer is done fermenting, you take a second reading and then there is a simple calculation to tell you what the ABV of your finished product is.  

I should have taken a specific gravity reading before filling it up - mine turned out too low which I hope will not hurt the beer too much.  I could have shorted my water fill a bit to keep me in the range for the recipe.

Once you have all your measurements complete, you cover up the fermenter and add an airlock to allow the fermentation gases to release.  You should start seeing bubbling in 6-24 hours.  Keep the fermenter in a cool dark place and leave it alone.  Fermentation can take 2-3 weeks.  I chose the work out corner of our basement - it will certainly not be disturbed there!


Here is my brew waiting to ferment.  I will check it later today - the airlock should be bubbling which means the magic is starting!

Sanitize, sanitize, sanitize

 By far the largest factor in many home beers that end up with off flavor is introduction of contaminants.  Your best protection against this is ensuring absolutely anything that comes in contact with your wort is sanitized.  There are several products out there you can use to achieve this, I use iodophor.  It is cheap and effective, but does require thorough rinsing or will impart it's own off flavors.  Your batch is most susceptible to contamination right after the boil.  Once the yeast starts producing alcohol, the risk diminishes, but precautions must be taken.  You do not want to spoil your hard work!
Iodine solution sanitizes thermometer
sterilizing the fermentor and other tools

Cool down the wort

Once your boil is complete, you need to cool down the wort.  It is crucial to complete this process as quickly as possible to avoid contamination.  You want to get the wort down to about 70 degrees F prior to getting it into your fermenter and pitching the yeast.  I need to pick up a floating thermometer, it comes in handy both when Mashing and when cooling.  I had to make due with a meat thermometer and constantly washing/sanitizing during the process.  They make wort chillers which will speed this process up tremendously.  I may look into getting one of those as well.  They are basically just a looped copper tube that allows you to pass cold water through the inside of the wort.  I had this batch cooled down to about 80 degrees F in about 20-30 minutes.  I had to change out the water 4 times to get there.  80 was fine for me, because I needed to add cooler water to get me up to 5 gallons.  That brought me down to 70.

Boiling the wort

Now it is time to boil.  Kick up the heat and wait for the boil to start.  If you have extract, you add it now.  I had both liquid and dry extract for this recipe, so I added both once I had a nice rolling boil.  You need to make sure you stir during the add, especially with the liquid as it will pour right to the bottom of your kettle and could burn before dissolving.  You will also be adding some bittering hops now.  Depending on your recipe, you may add bittering hops several times during the boil.


Again, pretty tough to see, but through the steam is a boiling brew!  If you have a family - this is about the time they will become disgusted with the brewing process.  The boil takes an hour, and is a pretty smelly operation.  In my opinion, it smells great!  It is a mix of hops and hay smell.  My wife and kids disagree entirely.  They packed up and left today once the boil got going.  At about 55 minutes, you will add an additional dose of hops for aroma.  The stuff you added earlier in the boil will contribute to the mouth and lingering flavor of the beer.  The aromatic hops hits you when you smell a fresh beer as well as when it first hits your tongue.  Hops.. are... fantastic.

Mash and sparge

"Mashing"
Sort of tough to make this out, but if you peer through the steam you will see the grain bag soaking in the hot water.  Note the color change brought on by the steeping.  Once you reach your target temp (or a few degrees higher to account for adding room temp grain), you should turn off the heat and ideally leave it off during steeping.  I have heard some having trouble keeping the water temp up, but I had no problems.  My pot is very heavy, so this is probably why the temp remains pretty constant.  It is ok to turn the burner back on, but keep it very low in an effort to just maintain temp.  You also risk burning the grains if they are sitting on the bottom of the pot.


Once you have let the grains sit, you should pull the bag in and out of the concoction in your pot several times to extract more of the sugars.  You should then "sparge" the grain.  You can do this either by pulling the grains out above the pot and pouring hot (again 150-160 or so) water over and through the grains or by having another pot at the ready with heated water that you can slosh the grains through.  I chose the latter.  If you choose to pour the water over, many folks find dropping the bag in a colander and holding the colander over the brew pot is the best method.  When you are done with this, your concoction is now known as "wort".

Starting the Pale Ale

Ingredients in order of add
Brewing day is arrived this morning.  I started about 9:30 getting set up.  I have found it useful to lay out what you need in order.  I have a tendency to get a bit distracted while brewing, especially while enjoying a beer during the process.  As this was a morning operation, coffee kept me in line.

It is also a good idea to keep your aromatic hops clearly separated from your bittering hops.  If you are using all pellets, it is easy to mess up and add the wrong one during the boil.


Brew pot on left, sparge on the right.
After the set up, time to get the water going.  This batch was a combination of grain and malt.  That means I need to "mash" the grains first.  Think of this like making tea.  You take the cracked grains and put them in a muslin or nylon bag.  Steep them in 150-160 degree water for about 20 minutes to release the sugars.  The heat from the water releases the sugars from the grain.  You can't do this in the boil as this added heat will release the tannins from the grain husk imparting bitter flavor in your beer.  


Thursday, October 13, 2011

India Pale Ale on deck

Here is what I plan on brewing next.  Nothing fancy, a basic kit which I do not plan to modify.  I just want to see if I remember how to do this stuff.


This is a pretty typical kit including:
  • Malt extract - the cans in the picture
  • Whole grain malt
  • Multiple hops for bittering and aroma
  • Some priming sugar 
  • Straining bags for your grain to steep in


Hopefully, brewing postings within a few days.

Wednesday, October 12, 2011

Why am I here?

I am a man.  A man who really loves beer.  In an effort to align life around my passions as well as attempt to disguise a borderline alcohol problem I have decided to jump into home brewing. Secondary motivation was provided by the need to defend my collection of empty beer bottles in our ever shrinking basement space. Those damn things take up a lot of room!

Having tinkered with this in the past, I reasoned that it would be fairly easy to start back up again.  I went to my local home brew supply house (by the way, there are a lot of these out there all of a sudden) and picked up a kit.  No need to get complicated, just cook it up one afternoon and bottle in a few weeks - a snap.  That was about 2 months ago.  I needed a kick in the pants.  This blog is meant to be that kick in the pants. 

I intend to post at least twice a week about brewing or drinking beer.  My hope is that this constant discussion will "encourage" my lazy rear to jump back into the art of home brewing.  So if you like beer and have even a passing interest in brewing, follow along friends.  Hopefully you will learn a little about the process, or maybe help myself and others learn.  Please, comment away!